Learn
Word Header and Footer: Different First Page and Sections

The most common misconception about a Word header footer different first page setup is that headers belong to pages. They do not. A header is stored on the section, which is why a single-section document will never let you change the header on page 3 alone. Once you know that, the two things people usually want — a cover page with no header, and a different header for each chapter — stop being guesswork. This guide walks through inserting headers and footers, excluding the first page, splitting the document into sections, breaking the link between them, restarting page numbers, and fixing the cases where a header refuses to disappear.
What a Header and Footer Actually Control
Headers are saved per section, not per page
A header is the strip that repeats in the top margin of every page; a footer does the same at the bottom. They hold the information that belongs on every page: document title, department name, date, page number.
The part that trips people up is that this content is not stored page by page. Every page inside one section shares the same header, so in a document you never split, editing the header on any page rewrites it from the first page to the last.
Three exceptions to that rule
Almost every real editing job is some combination of these three:
- Different First Page — splits off the first page of a section into its own header area. This is what removes the header from a cover page.
- Different Odd & Even Pages — gives left-hand and right-hand pages separate headers for double-sided printing.
- Section breaks plus Link to Previous turned off — cuts the document into several sections so each one can carry its own header.
To get into the header area, double-click the top margin of a page. Word switches to editing mode and shows the Header & Footer contextual tab on the ribbon. Double-click back into the body text, or press Esc, to leave.
Check the document structure first
Before touching anything, it helps to know how many pages the cover takes and where each chapter starts. On the View tab, turn on Navigation Pane and the headings in the document are listed down the left side.
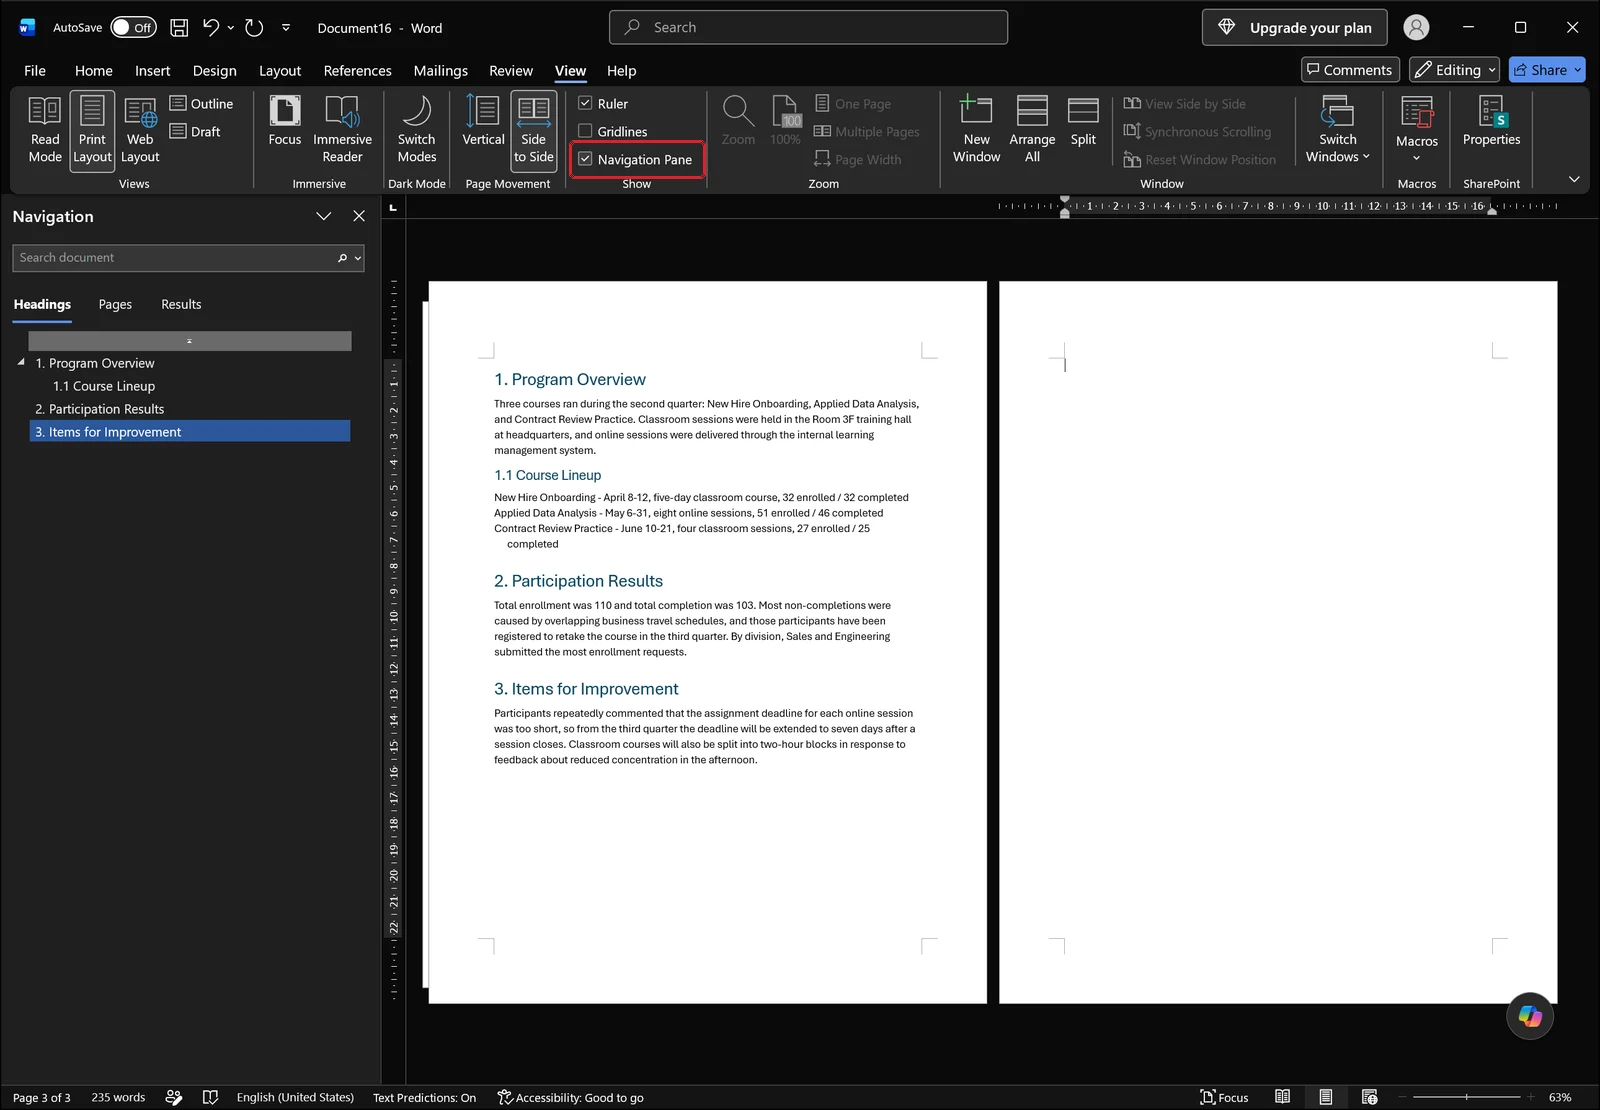
With chapter titles like "1. Program Overview" laid out in that list, it becomes much easier to decide where the section breaks need to go later on.
Inserting a Header and Footer in Three Steps
Pick a layout from Insert > Header
Click Header on the Insert tab and a gallery of built-in layouts drops down. Choosing one builds the header in that arrangement; if you would rather start from an empty area and type your own, use Edit Header at the bottom of the list.
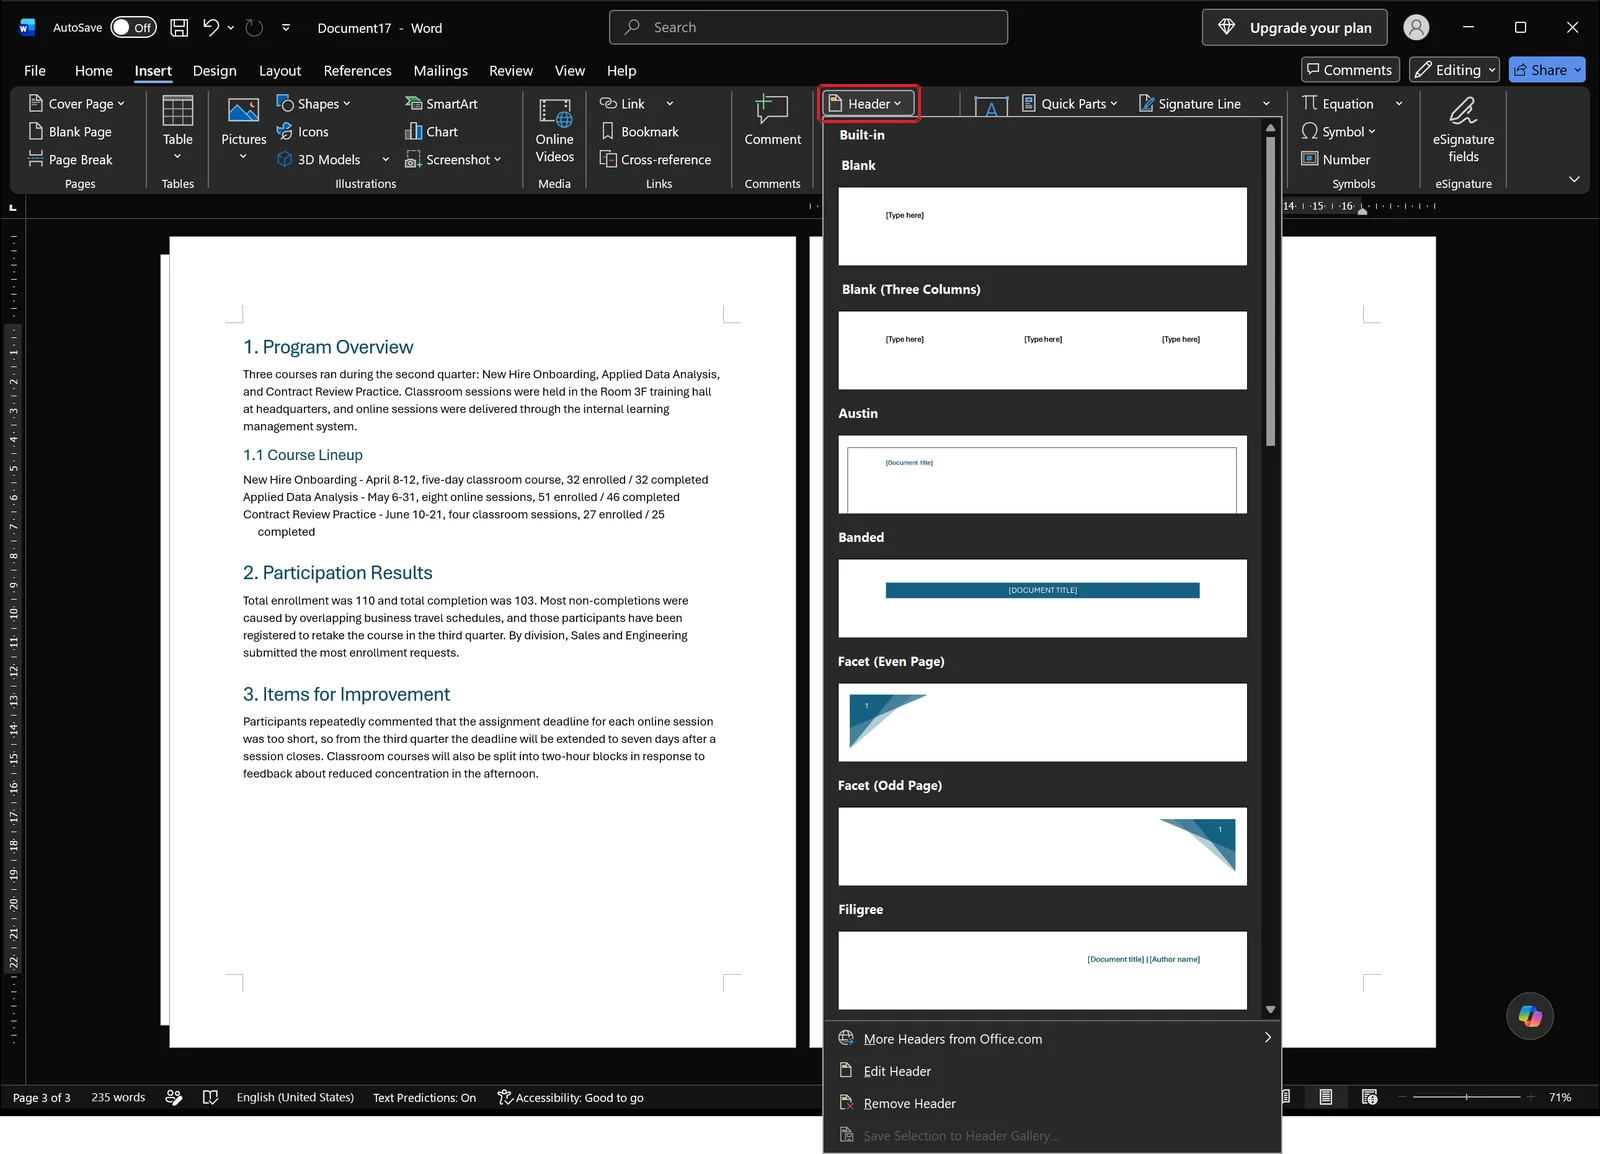
With the cursor inside the header area, pressing Tab moves from the left-aligned position to the center tab, then to the right. That is how you put the document title on the left and the date on the right without pushing anything around with the spacebar.
For fields that track the file itself, such as the title or the author, you can insert a document property from Quick Parts instead of typing the text. Change the title later and the header follows on its own.
Put the department name and page number in the footer
Footers work identically through the Footer button on the Insert tab: pick a layout from the gallery, or choose Edit Footer at the bottom of the list and type into the blank area.
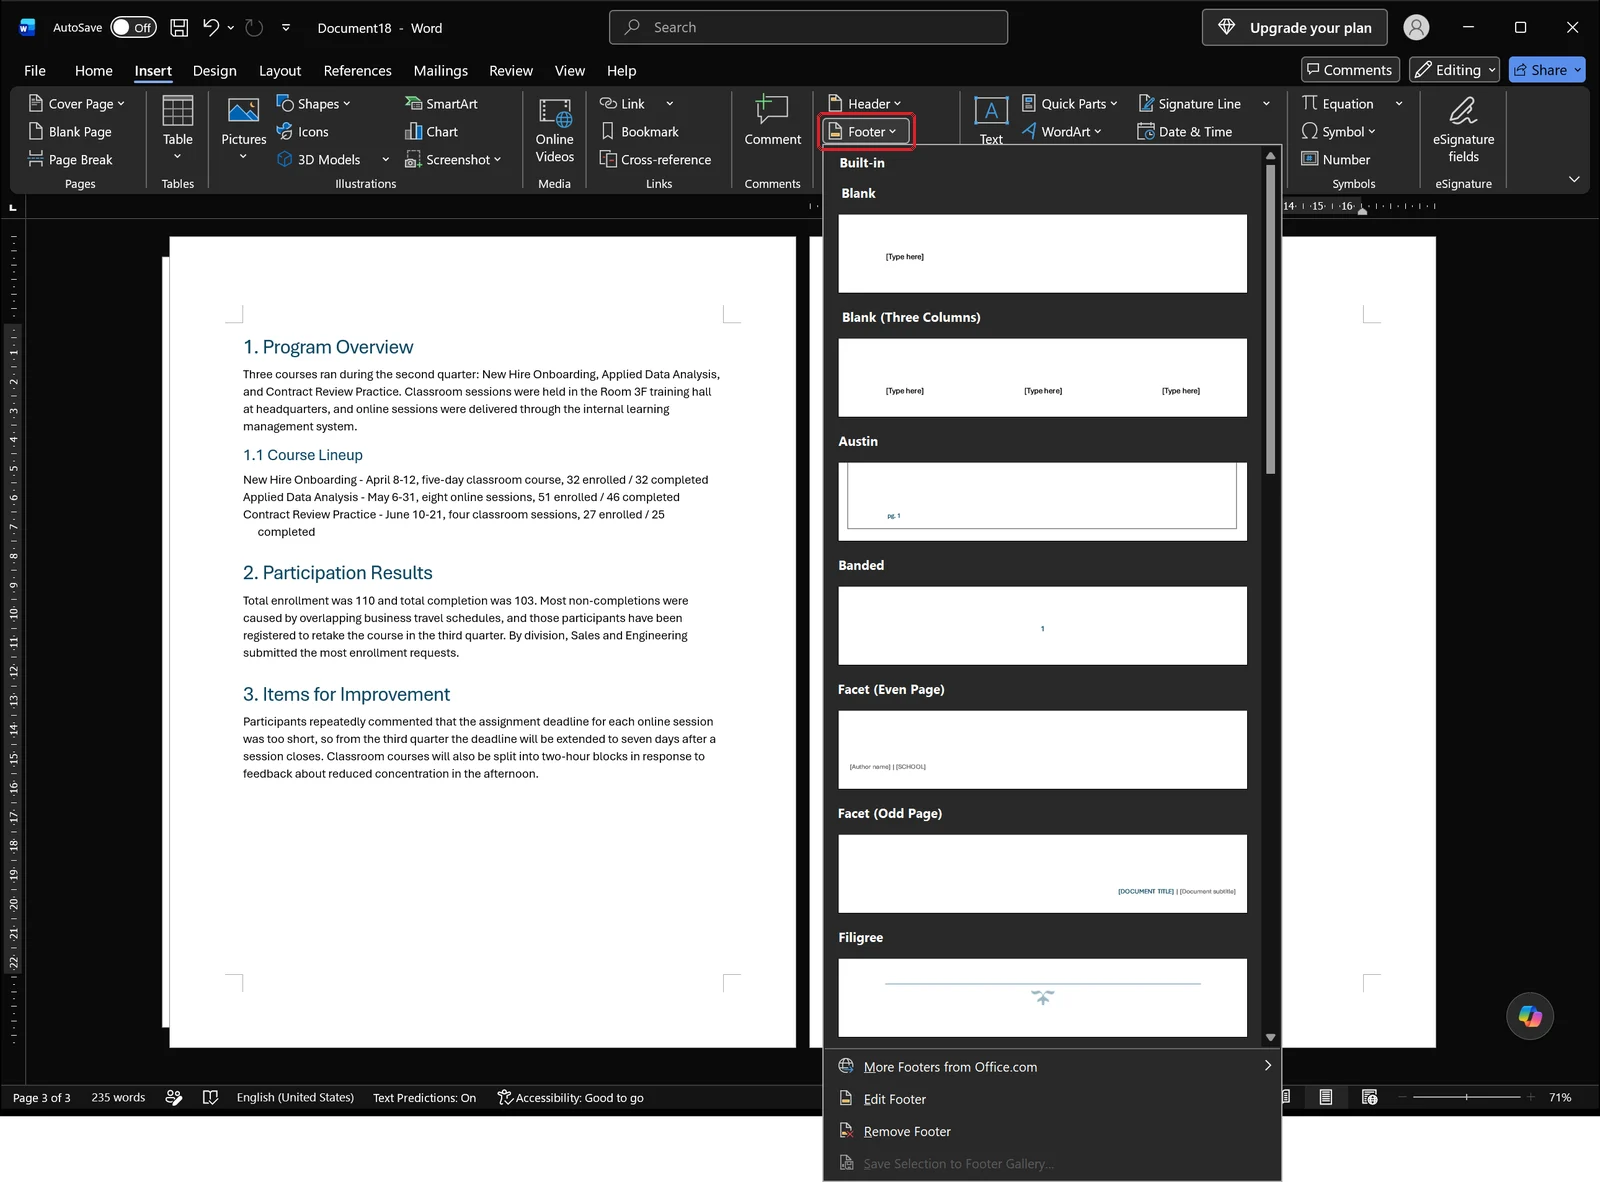
For a report, the department name on the left with the page number centered or on the right is a safe arrangement. Do not type the page number as a literal digit — use the Page Number feature covered further down, so the numbering keeps up as the document grows.
The font and the divider line in these areas come from the built-in Header and Footer styles. Rather than layering manual formatting on top page by page, edit the style itself and the formatting stays consistent everywhere.
👉 Heading Styles in Word: Apply Heading 1 and 2, Then Edit Them
Check the result in One Page view
At normal zoom you cannot see the header and the footer at the same time. On the View tab, click One Page in the Zoom group to fit the whole page into the window. If the Zoom commands are unavailable, set page movement back to Vertical first.
From here you can judge the balance between the top and bottom margins and the gap to the body text, which is close to what the printed sheet will look like.
Removing the Header and Footer From the Cover Page Only
Different First Page is the correct answer
If you try to clear the cover header by deleting the text on page 1, the header disappears from the entire document. Same section, same content.
The right move is to split the first page off into its own area. Double-click the header to enter editing mode, then tick Different First Page in the Options group of the Header & Footer tab. The label on page 1 changes to "First Page Header," and leaving it empty removes the header from the cover alone.
To drop the page number from the cover as well, clear the First Page Footer too. Emptying the header does not empty the footer.
The same option lives in Page Setup
You can reach the same checkbox through the Page Setup dialog. On the Layout tab, click the small dialog launcher in the bottom-right corner of the Page Setup group, next to Margins, Orientation, Size, Columns, Breaks, Line Numbers and Hyphenation.
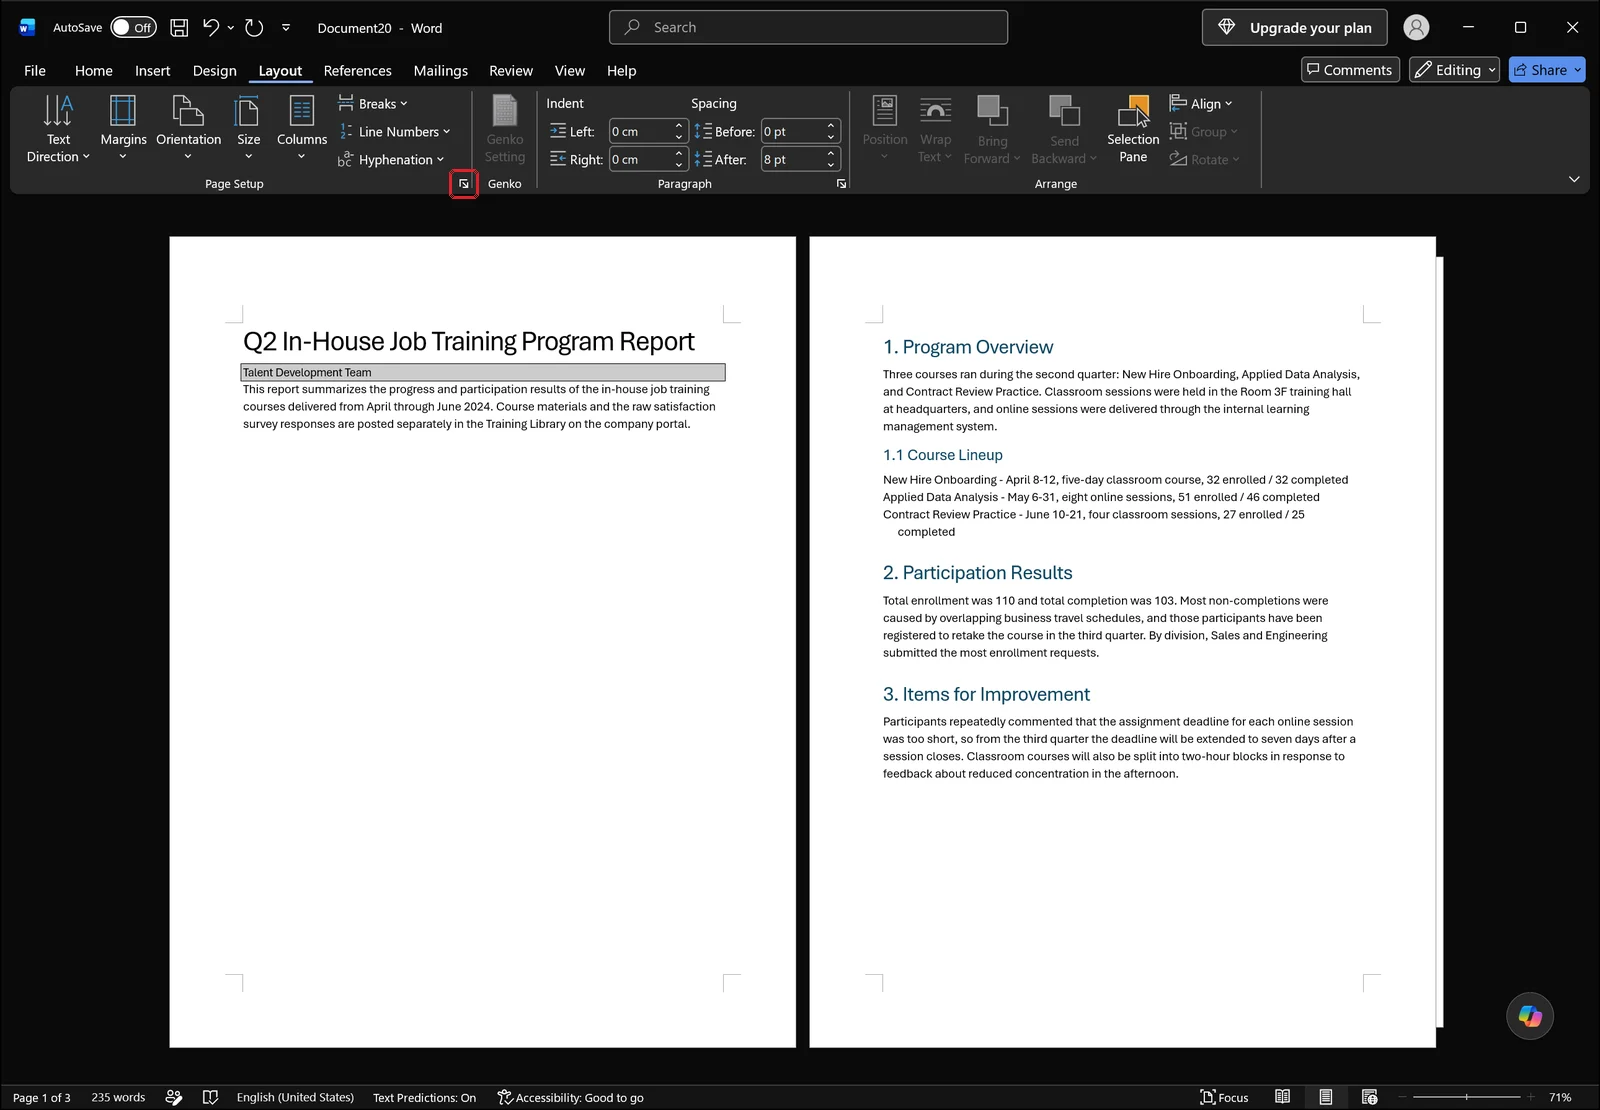
The dialog opens on the Margins tab, with Paper and Layout beside it and an Apply to dropdown at the bottom. Click the Layout tab — the header and footer checkboxes are there.
What you leave in Apply to decides the outcome. This section limits the change to the section holding the cursor; switching it to Whole document applies it to the first page of every section. In a report with several sections, ignoring this dropdown is the usual reason a header vanishes from a page you never meant to touch.
Confirm the cover page is clear
Once the setting is in, switch to Print Layout on the View tab so the page edges and margins are drawn.
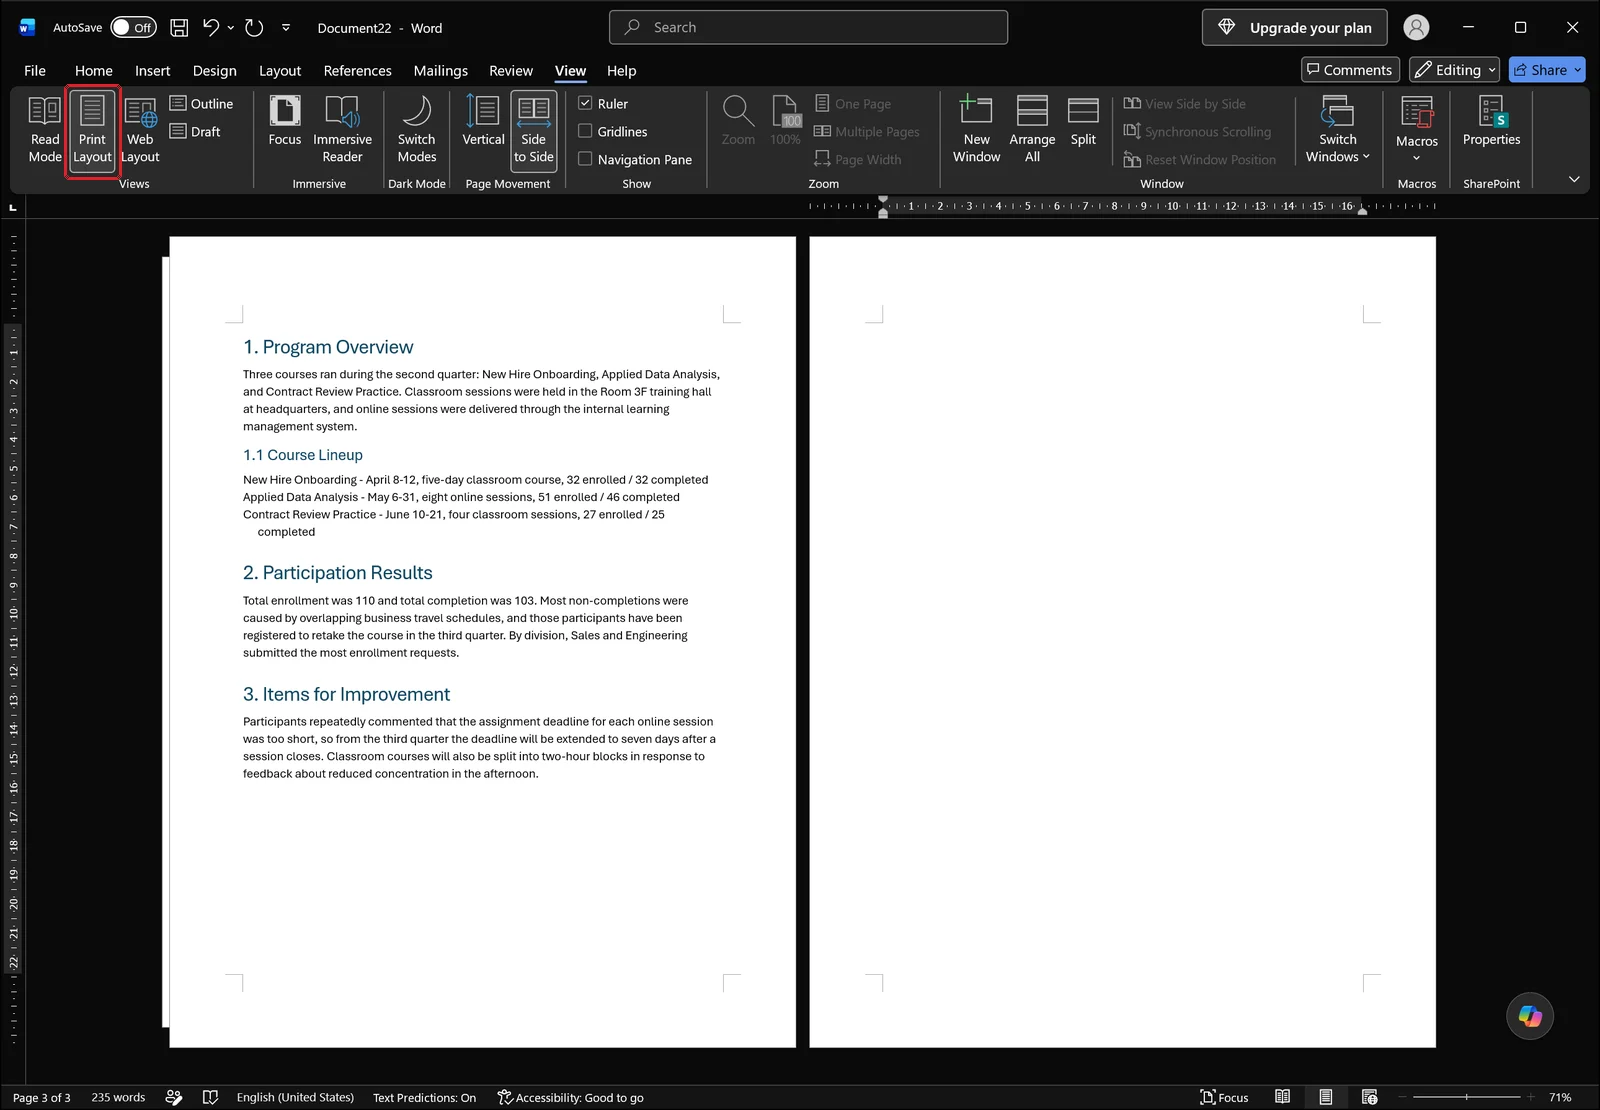
Then scroll through your own document: the top margin of the cover should be empty, while the page that follows it should carry the header again. If you want the second page to be numbered 1, open the page number format and set the starting number to 0.
Splitting Sections for a Different Header per Chapter
Layout > Breaks > Next Page
Giving each chapter its own header means cutting the document into sections. A plain page break from Ctrl+Enter will not do it — it moves text to a new page but leaves the section intact, so the headers stay welded together.
Open the Breaks list on the Layout tab. Page breaks (Page, Column, Text Wrapping) sit at the top and section breaks below. Choose Next Page.
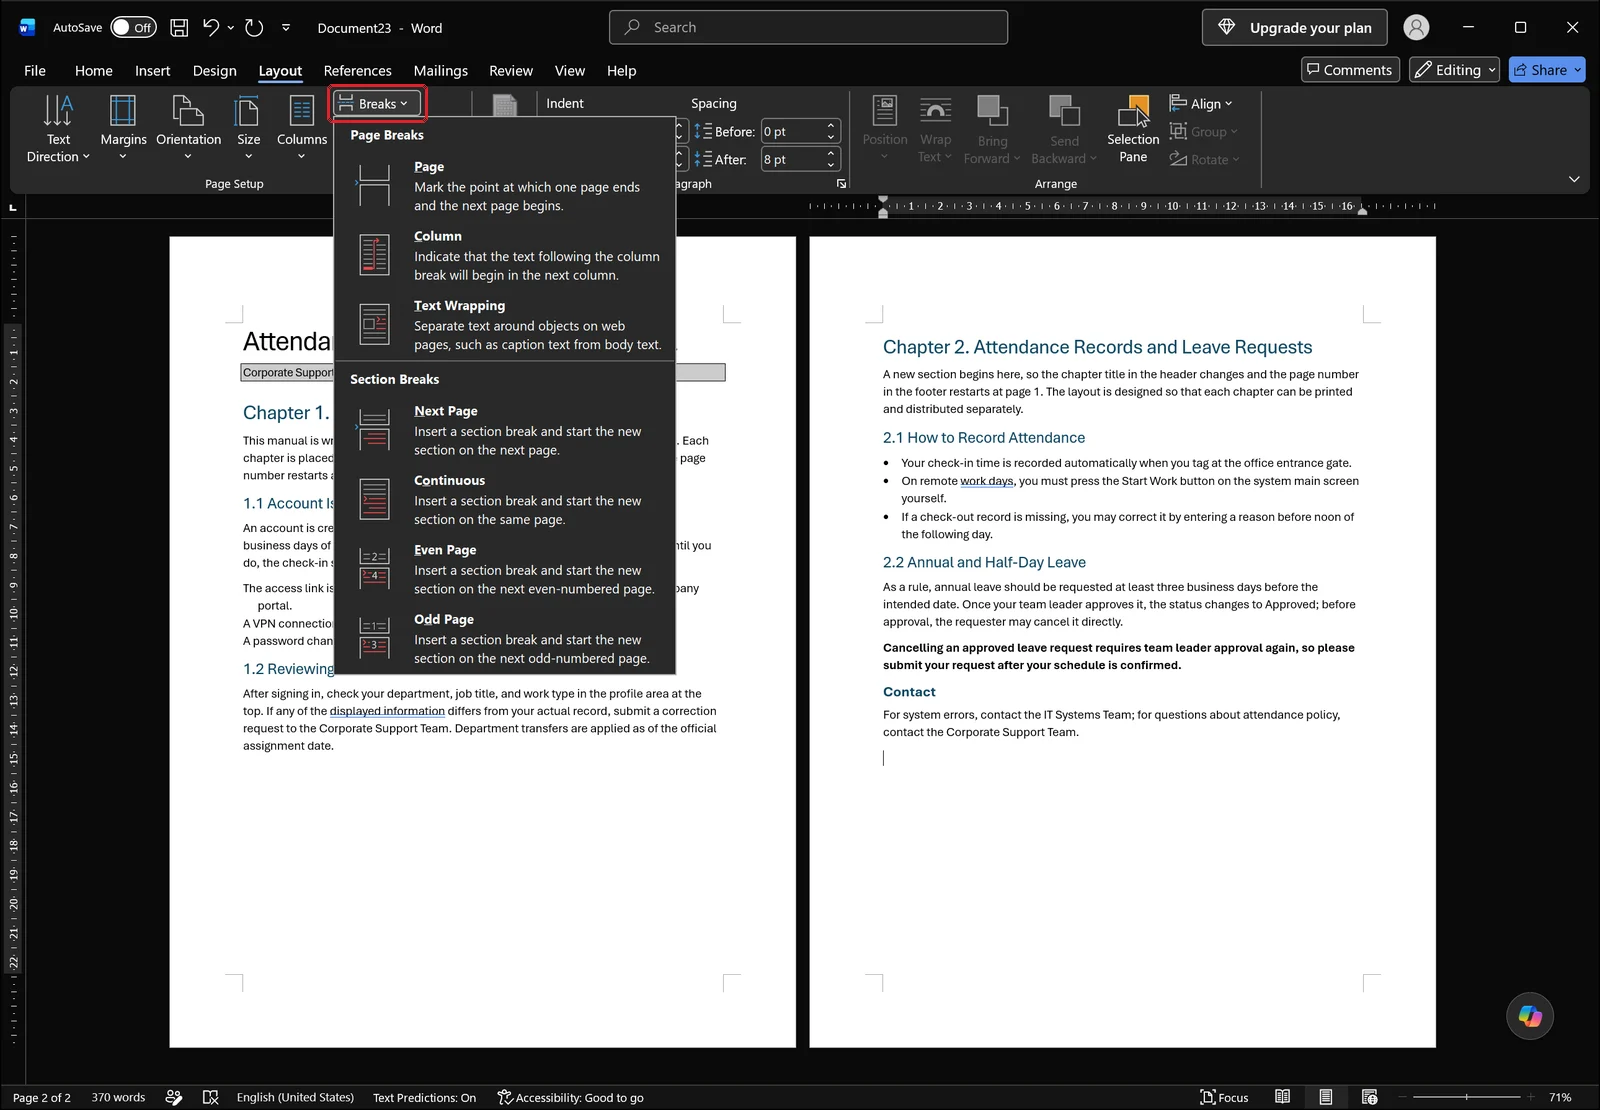
Insert one break after the cover, then another at every chapter boundary. While you are editing a header, Word labels the area on the left — "Section 2 - Header" and so on — so make a habit of checking which section you are actually in before typing.
Find the breaks in Draft view
Section breaks are easy to miss in Print Layout. Switch to Draft on the View tab and each break shows up as a labeled dotted line running across the text.
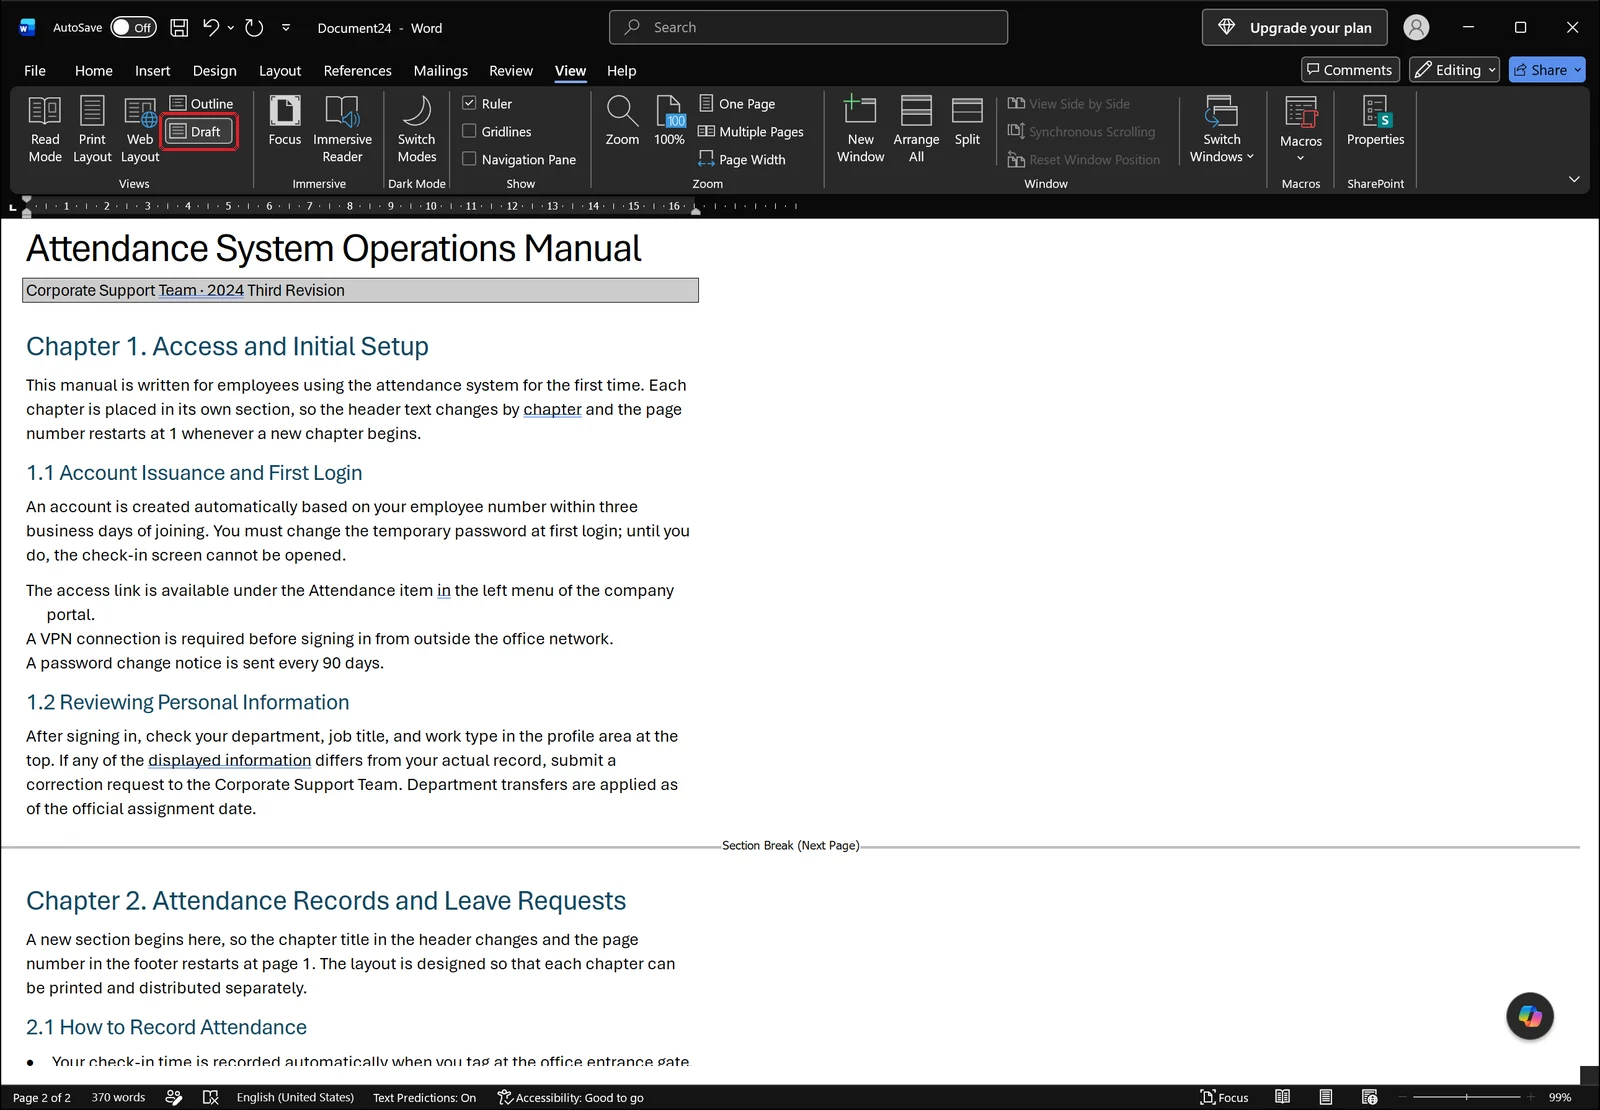
Use this view to confirm the breaks landed where you intended and that none of them got inserted twice. When a header behaves strangely, this is the fastest place to find out why.
Turning off Link to Previous is the key step
Splitting the sections does not separate the headers by itself. A new section still shows "Same as Previous" on the right edge of its header area, and editing the text there rewrites the previous section too.
Double-click into the new section's header and click Link to Previous on the Header & Footer tab to switch it off. Once that marker disappears, the section's header is independent.
Headers and footers keep separate links. Unlink the header but leave the footer connected and you end up in the awkward middle state where the header changes by chapter while the page numbers keep running straight through. Check both areas.
👉 Mix Landscape and Portrait Pages in Word: Rotate One Page Only
Restarting Page Numbers in Each Section
Insert > Page Number > Format Page Numbers
Page numbers come from Page Number on the Insert tab. The menu lists insertion positions — Top of Page, Bottom of Page, Page Margins, Current Position — along with Format Page Numbers and Remove Page Numbers.
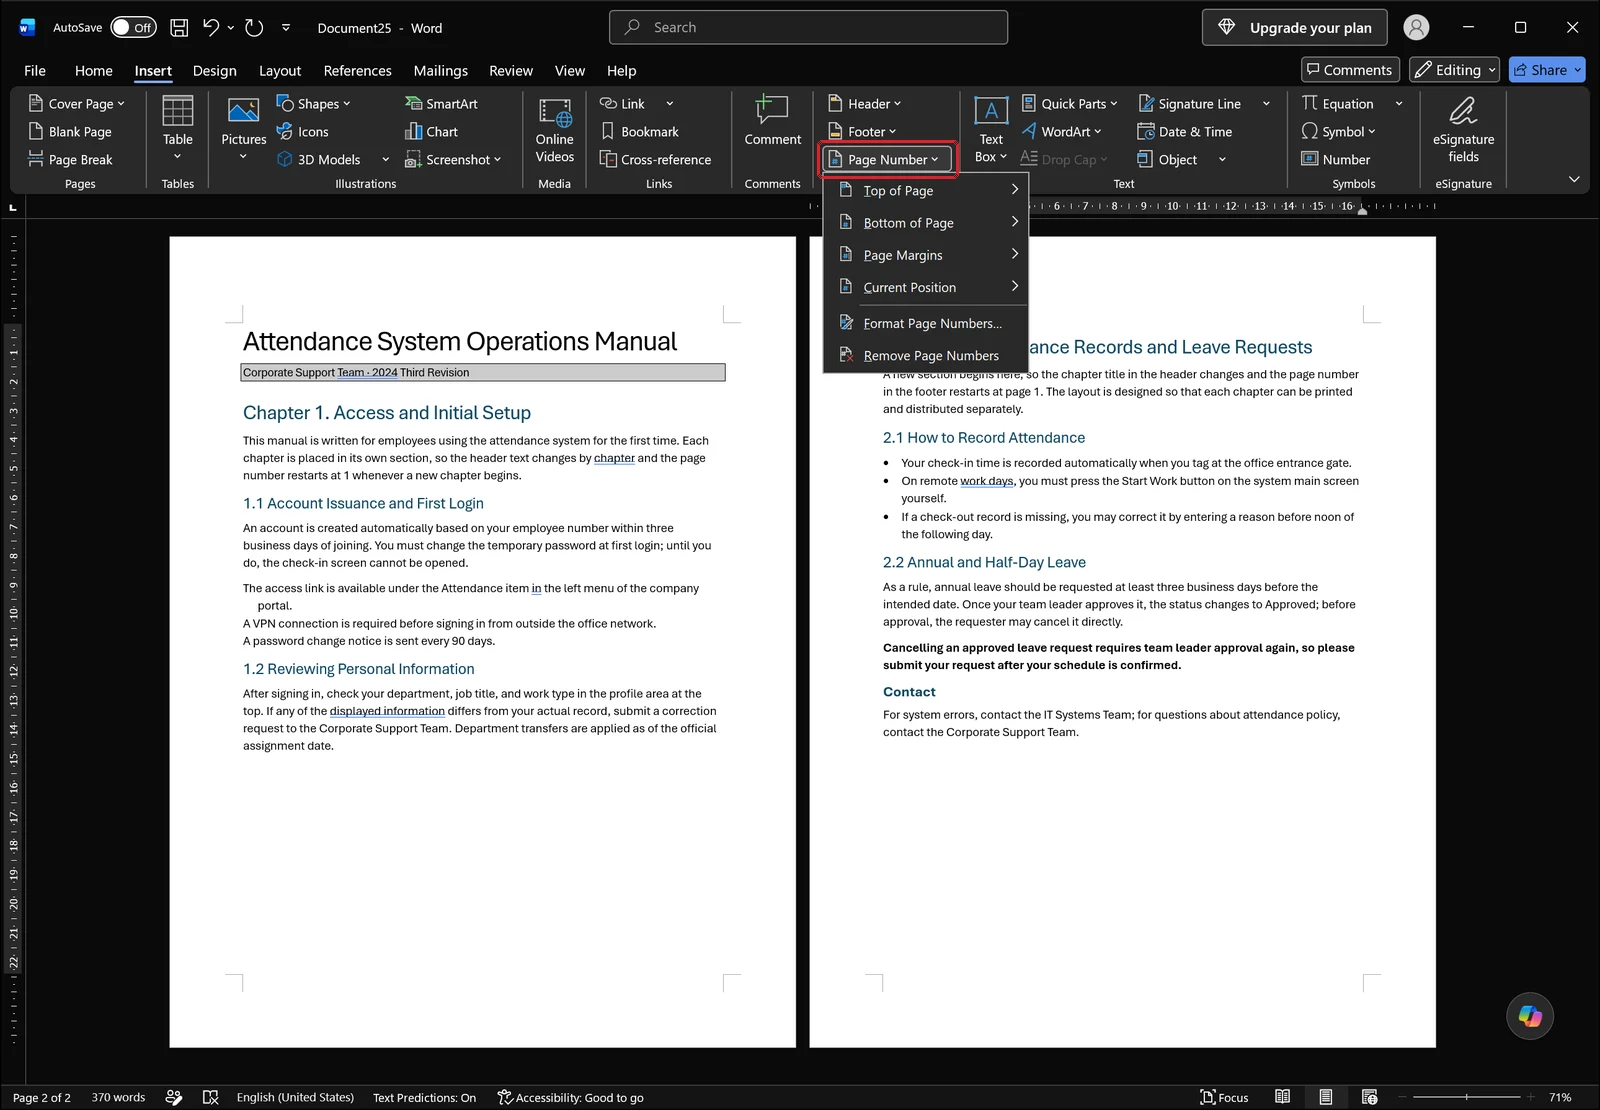
If the footer is already laid out the way you want it, put the cursor where the number belongs and choose Current Position. That drops the field in without disturbing the rest of the arrangement.
Set the starting number to 1
To restart the count, place the cursor inside the section and open Format Page Numbers. Pick a number format, then enter 1 in Start at and the first page of that section becomes page 1.
To keep the count running instead, choose Continue from previous section. If you want the body of a report to begin at page 1 after the cover, setting Start at to 1 in the body section is all it takes.
If you change the starting number and nothing on screen moves, check the footer's link first. While it is still connected, the section keeps inheriting the setting in front of it.
Roman numerals for the front matter
Reports often number the cover and table of contents as i, ii, iii and the body as 1, 2, 3. The number format list in the Format Page Numbers dialog is set per section, so you can pick a different one for each.
Give the front matter Roman numerals and set the body section to start at 1, and the body numbering holds steady no matter how long the table of contents grows.
When a Header Will Not Delete or Changes Everywhere
The symptoms map onto causes fairly cleanly. Find your row first.
| Symptom | Cause | Fix |
|---|---|---|
| Editing one section changes the others | Link to Previous is still on | Turn it off in that section's header and footer separately |
| Header removed but still shows on later pages | Remove Header only affects the section holding the cursor | Move the cursor into each section and repeat |
| Header text is clipped or overlaps the body | Header area is taller than the top margin | Increase the top margin or the header position value |
| Formatting scrambled after deleting a section break | The preceding section inherits the following section's settings | Check before deleting; undo if it goes wrong |
| Header missing from a page that is not the cover | Different First Page is on in that section | Check the first-page setting for that section |
One section edited, every section changed
The usual culprit is a link you forgot to break. Right after a section break is inserted, every section is still connected to the one before it, so confirm the link is off before you type anything.
The same applies when you want the header gone completely. Remove Header in the Insert tab gallery only clears the section the cursor sits in, so five sections means running it five times. To wipe the whole document in one pass, relink every section first and then run it once.
Deleting a section break scrambled the formatting
A section break marker carries the preceding section's orientation, margins and header settings. Delete it and the earlier section adopts the settings of the one that follows, which is how a perfectly good page suddenly changes its header or turns landscape.
Rather than patching that up piece by piece, undo the deletion straight away with Ctrl+Z. The Undo list on the Quick Access Toolbar at the top left also lets you step back through several recent actions at once.
Header text is clipped or overlaps the body
A two-line header or one holding a logo image can grow taller than the top margin, at which point the text is cut off or the body gets pushed down. Opening Margins on the Layout tab and giving the top margin more room fixes most of these.
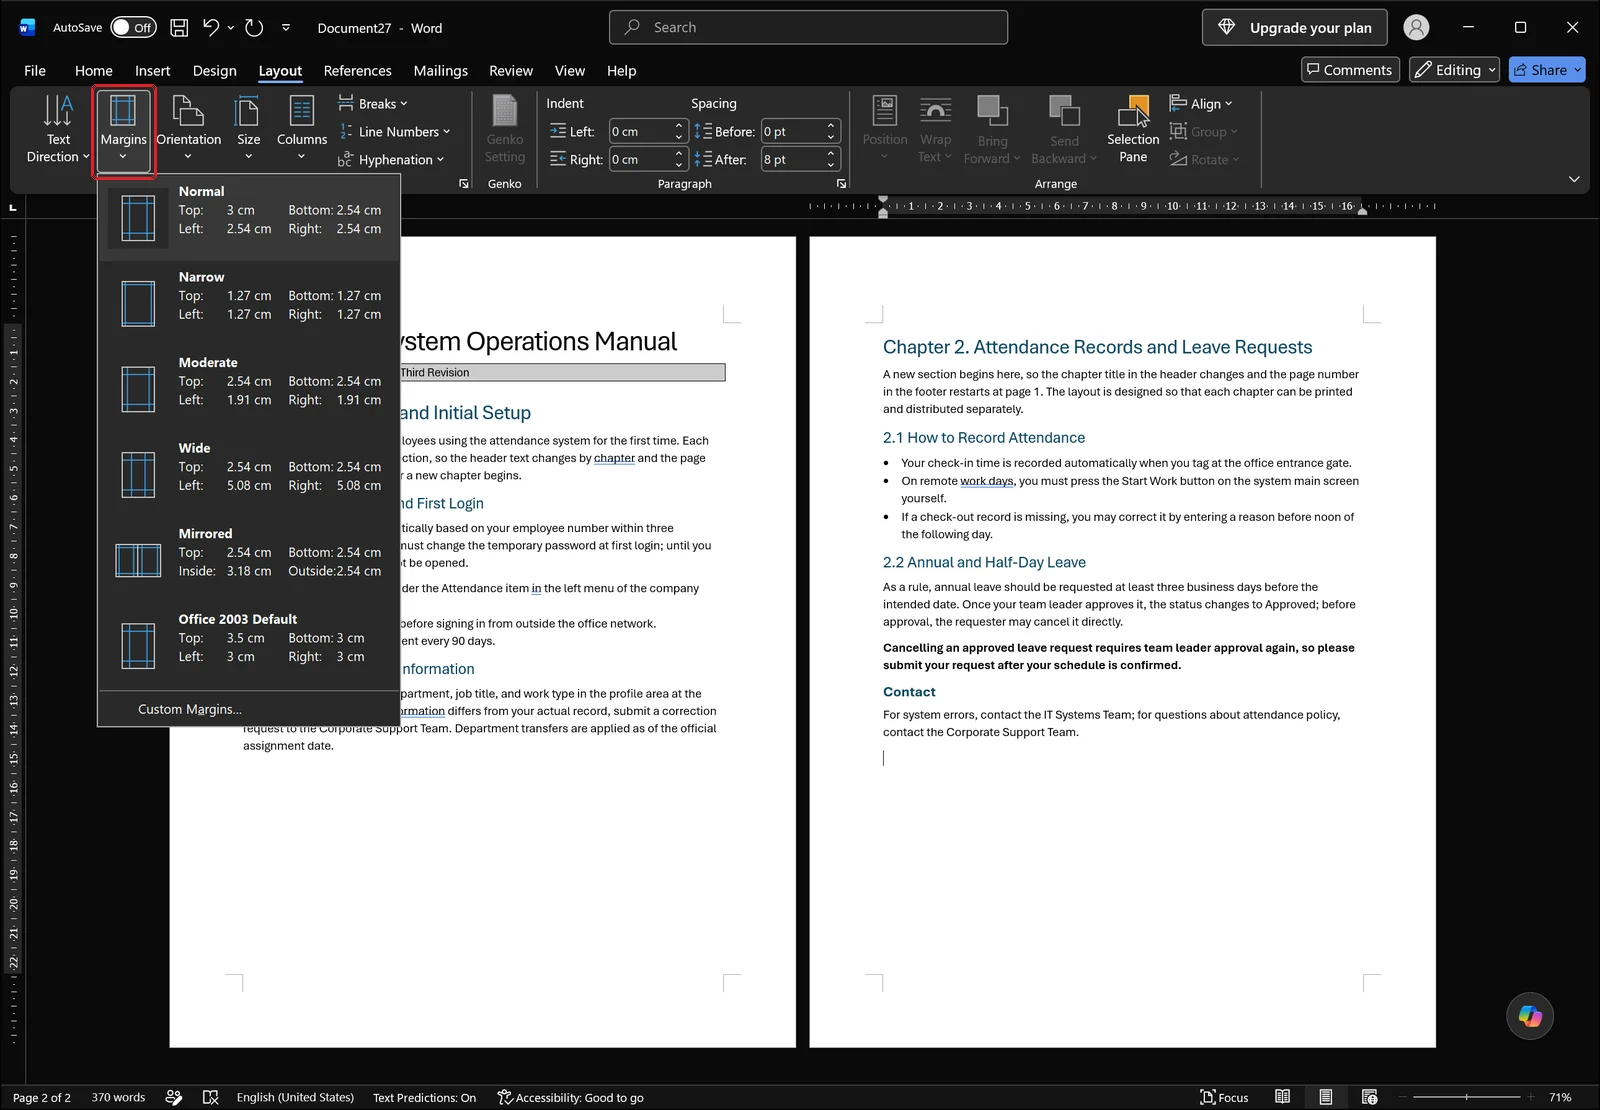
If none of the presets is generous enough, use Custom Margins at the bottom of the list and type the values yourself. The top margin has to stay larger than the header position value, otherwise the header and the body text overlap again.
Frequently Asked Questions
Q. How do I delete a header completely?
Use Remove Header in the Header gallery on the Insert tab. It only clears the section containing the cursor, so in a multi-section document you either repeat it section by section or relink everything first and run it once. Footers have their own separate command.
Q. Can I hide the number on page 1 and make page 2 read "1"?
Yes. Tick Different First Page, leave the first-page footer empty, then open Format Page Numbers and set Start at to 0 — the second page becomes 1. Inserting a section break after the cover and setting the body section to start at 1 gives the same result.
Q. I split the sections but the header still copies the previous page.
Link to Previous is still switched on. Double-click into the new section's header and click that button on the Header & Footer tab to release it. The footer has to be unlinked the same way before the page numbering separates.
Q. How do I set different headers for odd and even pages?
In header editing mode, tick Different Odd & Even Pages in the Options group. This is what you use for double-sided reports where the page number sits on the outer edge, or where the document title goes on left-hand pages and the chapter title on right-hand pages.
Handling headers and footers with inline AI
Everything above assumes you are the one tracking the section structure in your head. In a document with a dozen chapters, repeating the unlink-and-set-start-number routine section by section takes longer to verify than to perform, and finding the one section you skipped is its own task.
inline AI is a local agent that works directly on Word and Excel files on your machine. Ask it something like "add a department header to every page except the cover, and restart the page number at 1 at each chapter," and it reads the document's section structure and applies the edits itself.
Because the file is processed on your PC rather than uploaded to a cloud service, confidential reports never leave the machine.
See what an agent could take over at your company in a 30-minute call.